Quick Answer: Wall mounted shower seat installation in premium hotel projects is a multi-stage discipline that begins during architectural design and concludes after the room is in service—it is not a contractor’s afterthought. Hospitality bathroom fall liability settlements range from $35,000 to $175,000 per incident in the United States, and the majority of these incidents trace back to inadequate structural backing or improper mounting hardware selection. A correctly executed installation strategy—covering structural backing specification during framing, wall type assessment, anchor selection, load verification, ADA geometric compliance, and post-installation quality control—ensures that the shower seat performs as a safe, durable, and aesthetically integrated element for the 15-20 year service life of the hotel. This article provides an end-to-end installation framework for hotel project managers, contractors, architects, and procurement teams.
Key Takeaways
- Bathroom fall liability settlements in U.S. hotels range from $35,000 to $175,000 per incident; structural installation failures are the leading cause of shower seat-related claims
- Structural backing must be specified during the architectural framing stage—retrofitting backing into finished walls is costly and disruptive
- Wall type (concrete, masonry, wood-frame, steel-stud) determines anchor selection, backing requirements, and installation procedure
- ADA geometric compliance (17-19 inch seat height, 30×48 inch clear floor space) must be verified at installation, not assumed from product labeling
- Hospitality-grade shower seats require 350-500 lb load ratings with third-party certification per ASME A112.19.2
- Post-installation quality control—including load testing and hinge verification—is a non-negotiable step before room turnover
- Multi-property hotel operators benefit from standardized installation specifications across their portfolio
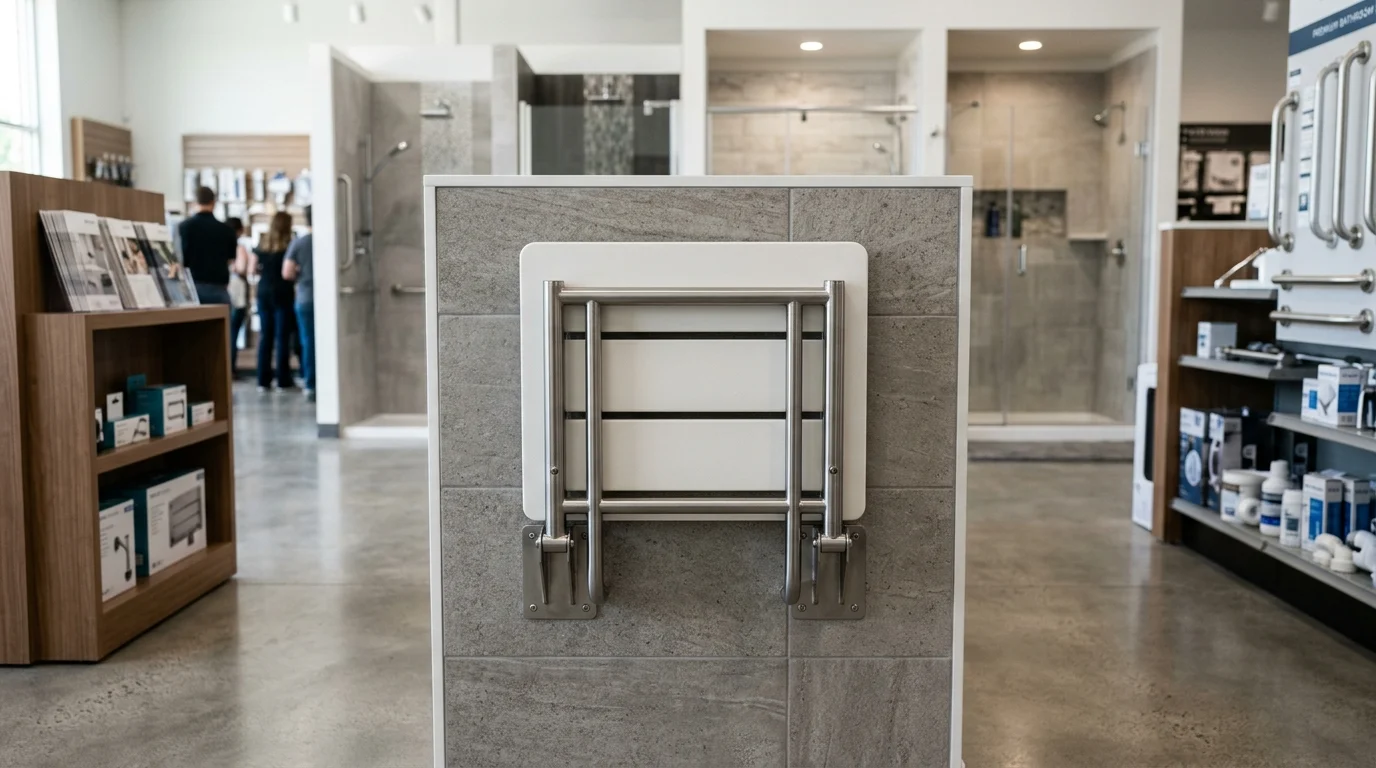
Introduction
Hotel bathroom installations are among the most scrutinized in commercial construction. Every fixture decision—tile, plumbing, lighting, hardware—is made, specified, and documented during the design phase, coordinated across trades during construction, and verified before turnover to operations. The wall mounted shower seat is no exception. In a premium hotel project, the shower seat is specified during architectural design, coordinated with the structural and waterproofing trades, installed by qualified mechanics, and quality-verified before the room is released to housekeeping. This process—not the act of putting a seat on a wall—is what constitutes an installation strategy. A reactive, improvisational approach to shower seat installation in premium hotel projects is the primary predictor of failure: failure of the seat under load, failure to meet accessibility requirements, failure to coordinate with adjacent fixtures, and failure to survive the 15-20 year service life without costly callbacks. This article provides a comprehensive, stage-by-stage installation framework for wall mounted shower seats in premium hotel projects, from pre-construction structural specification through post-turnover quality control.
1. Pre-Construction: Structural Backing Specification
Structural backing—the reinforcement within the wall that receives the seat’s mounting anchors—is the single most critical element of a compliant wall mounted shower seat installation. In premium hotel projects, backing must be specified during the architectural framing stage, not discovered as a gap during finish installation.
1.1 Why Backing Cannot Be an Afterthought
A wall mounted shower seat in the deployed position creates a moment load on its wall attachment that is significantly higher than its static weight rating. When a 200-pound user sits on a seat with a 20-inch projection from the wall, the resulting moment at the upper mounting anchors is approximately 4,000 inch-pounds. Standard drywall anchors—plastic sleeves, self-drilling anchors, or toggle bolts in hollow walls—cannot resist this load. They pull out. The American Society of Civil Engineers (ASCE) publishes structural design standards for handrails and grab bars (ASCE/SEI 7-22 Minimum Design Loads) that are referenced by ADA and IBC requirements for shower seat attachments. The structural backing requirement is not a recommendation—it is derived from the same load standards that govern structural elements of the building.
1.2 Backing Requirements by Wall Type
- Wood-frame walls: Minimum 3/4-inch (19mm) structural wood panel (CDX plywood or OSB) spanning minimum 3 wall studs, centered at the seat mounting height. The panel must be secured to each stud with minimum 3 structural screws (No. 10 or equivalent) per stud. Blocking alone (solid wood blocks between studs) is insufficient for multi-point mounting plates; continuous panel spanning three studs distributes the load correctly.
- Steel-stud walls: Minimum 3/4-inch structural wood panel on the interior face of the studs, aligned with the stud spacing, secured to each stud with self-tapping structural screws. Steel-stud walls require heavier gauge studs (minimum 20 mil for grab bar and seat applications) to develop adequate screw pull-out resistance.
- Concrete or masonry walls: No additional backing required. The concrete or masonry itself provides the structural support for approved expansion anchors or epoxy-set inserts. The minimum compressive strength of the concrete must be verified (2,500 psi minimum for most anchor specifications).
- Light-gauge steel trusses or I-joist systems: These framing systems have lower withdrawal resistance than solid wood or concrete. A structural engineer must specify the backing and fastener schedule for these systems.
1.3 Coordinating Backing with Waterproofing
In roll-in or curbless shower installations—the most common premium hotel shower configuration—waterproofing is applied over the structural subfloor and up the walls before the finish wall material (tile, stone, or wall panel) is installed. The shower seat mounting must penetrate through the finish wall material and the waterproofing layer to the structural substrate. The waterproofing manufacturer must approve the penetration method (certain waterproofing systems prohibit penetrations in the shower zone; others require specific sealing procedures around penetrations). This coordination must happen during the waterproofing submittal review, not at the installation stage.
2. Wall Type Assessment and Anchor Selection
Every wall type in a hotel project requires a specific anchor selection, and anchor selection must be confirmed by the contractor before proceeding with installation.
2.1 Anchor Types by Wall Substrate
- Concrete and solid masonry: Expansion anchors (wedge anchors or sleeve anchors) or epoxy-set threaded inserts. Anchor diameter and embedment depth must be specified by the seat manufacturer for the rated load. Minimum embedment for a 3/8-inch expansion anchor in 2,500 psi concrete is 2-1/2 inches.
- Hollow concrete block: Only the grouted cells of a concrete block wall provide structural capacity. The hollow spaces between cells are not load-bearing. Hollow anchors or sleeve anchors that expand against the walls of the void have significantly reduced load capacity. Epoxy-set inserts in grouted cells, or through-bolts that pass entirely through the wall, are the preferred methods.
- Wood-frame with structural backing: Structural screws (minimum No. 10 sheet-metal screws or structural wood screws) that penetrate minimum 1-1/2 inches into the structural backing. The screws must engage the stud as well as the backing to develop full withdrawal resistance.
- Steel-stud with structural backing: Self-tapping structural screws designed for steel framing applications (e.g., Teks screws or equivalent) that penetrate through the steel stud and engage the structural wood panel behind it.
2.2 Anchor Load Ratings and Verification
Every anchor used in a wall mounted shower seat installation must have a documented load rating from a recognized testing agency (ICC-ES, IAPMO, or equivalent). The anchor’s load rating must equal or exceed the shower seat’s rated capacity, and the safety factor must meet the requirements of the applicable code (typically 4:1 for static loads in commercial applications). Substitution of anchors not specified in the approved submittal—contractors’ common practice of swapping a “similar” anchor—must be prohibited by the specification and enforced through submittal review.
3. ADA Compliance: Geometric Requirements at Installation
ADA geometric compliance for shower seats is verified at the point of installation, not assumed from the product label or the architectural drawings. The 2010 ADA Standards for Accessible Design establish the following geometric requirements that must be confirmed during installation:
3.1 Mounting Height
The top of the seat surface must be 17-19 inches (432-483 mm) above the finished floor. This measurement is taken from the finished floor surface—not the subfloor, not the tile, not the shower receptor—to the top of the seat. In hotel projects where tile or stone is installed over a mud bed or cement backer board, the finished floor elevation can be 1-2 inches above the structural subfloor. The mounting height must be calculated from the finished floor elevation, not the subfloor. A common installation error is mounting the seat at 17-19 inches from the subfloor, which results in a final seat height of 18-21 inches after tile is installed—potentially outside the compliant range.
3.2 Clear Floor Space
Section 305.7 of the 2010 ADA Standards requires a clear floor space of 30 by 48 inches adjacent to the shower seat, allowing a forward or parallel approach from a wheelchair. This clearance must be verified during installation by measuring from the seat’s centerline to adjacent walls, fixtures, or obstructions. In a typical hotel bathroom where the shower is positioned adjacent to the toilet or vanity, this clearance can be blocked by the proximity of other fixtures. The shower seat position must be coordinated with the bathroom layout during design to ensure compliant clear floor space is achievable.
3.3 Seat Configuration
Section 607.3 specifies that in roll-in showers—the standard luxury hotel shower configuration—L-shaped or corner-configured seats are permitted. Rectangular seats are prohibited. This requirement applies regardless of the seat’s load rating or structural certification. A rectangular wall-mounted folding seat that folds down parallel to the wall (in a single plane) is not ADA-compliant for roll-in shower installations. L-shaped seats that fold against the side wall or corner configuration seats are the compliant options.
3.4 Structural Attachment Verification
The shower seat must be capable of withstanding 250 pounds applied vertically or horizontally at the front edge without collapsing or detaching from the wall. This is a load test criterion, not just a static rating. The installation must develop the seat’s full rated capacity in the wall substrate—the anchor system, the mounting plate, and the wall structure must all perform together. Installation testing is addressed in Section 6 of this article.
4. Installation Procedure: Step-by-Step
4.1 Pre-Installation Checklist
- Confirm structural backing is installed and documented (backing location drawing, photographs)
- Confirm wall substrate type matches the approved submittal
- Confirm finished floor elevation and calculate mounting height from finished floor
- Confirm shower seat product matches the approved submittal (model, finish, load rating)
- Confirm anchor type matches approved submittal and wall substrate conditions
- Confirm waterproofing penetration sealing method (if applicable)
- Confirm ADA-compliant seat configuration (L-shaped or corner; not rectangular for roll-in showers)
- Coordinate seat position with grab bar positions, shower controls, and adjacent fixtures
4.2 Template and Layout
Use the manufacturer’s installation template to mark the anchor hole locations on the wall. The template accounts for the seat’s mounting geometry and ensures the anchor holes align with the structural backing. Verify the template alignment before drilling:
- Confirm the template is level (use a 4-foot level across the full template width)
- Verify the seat height calculation: measure from finished floor to the seat mounting plate bottom, not the top
- Mark the centerline of the mounting plate and confirm alignment with adjacent fixtures and grab bar positions
- Verify clear floor space dimensions (30×48 inches) from the seat centerline to adjacent obstructions
4.3 Drilling and Anchor Installation
- Drill anchor holes per the anchor manufacturer’s specifications: diameter, depth, and cleaning method (compressed air, brush, or vacuum)
- For concrete and masonry: use a hammer drill with a carbide-tipped bit sized to the anchor manufacturer specification
- For wood-frame: use a standard drill with a bit sized to the screw diameter minus the thread OD
- For steel-stud: use a self-drilling self-tapping structural screw, or pre-drill through the stud at reduced speed to avoid damaging the stud
- Install all anchors before attaching the mounting plate; do not skip anchor positions
4.4 Mounting Plate and Seat Installation
- Attach the mounting plate to all anchor points simultaneously. Use a torque wrench or calibrated impact driver to apply the manufacturer-specified torque to each fastener. Uneven torque distribution creates stress concentrations that can lead to anchor failure.
- Verify the mounting plate is level and flush against the wall surface after all fasteners are started but before final torque is applied.
- Apply final torque to all fasteners in a cross-pattern (not sequential) to ensure even load distribution.
- Attach the seat assembly to the mounting plate per manufacturer instructions.
- Test the folding mechanism through minimum 10 open-close cycles to verify smooth operation before proceeding.
4.5 Post-Installation Inspection and Load Verification
- Verify seat height: measure from finished floor to top of seat surface. Acceptable range: 17-19 inches.
- Verify clear floor space: measure 30×48 inches clear zone adjacent to seat.
- Verify seat configuration: L-shaped or corner seat; rectangular seats in roll-in showers are non-compliant.
- Verify hinge operation: smooth folding, positive deployed latch engagement, stored position lock.
- Perform a static load test: apply a test load of 1.5 times the rated capacity (use sandbags or a calibrated force gauge) at the front edge of the seat in the deployed position. Hold for 60 seconds. No movement, settling, or anchor failure is acceptable.
5. Multi-Property Portfolio Standardization
Hotel operators with multiple properties benefit significantly from standardizing wall mounted shower seat specifications and installation requirements across their portfolio. Standardization reduces procurement complexity, simplifies contractor training, enables consistent quality verification, and reduces the risk of site-specific installation errors.
5.1 Standardized Specification Package
A portfolio-wide shower seat specification package should include:
- Approved product list (manufacturer, model, finish options, load rating)
- Structural backing requirements (incorporating the guidance in Section 1 of this article)
- Anchor selection matrix by wall type
- ADA compliance checklist (incorporating the requirements in Section 3)
- Installation procedure (Section 4)
- Post-installation QC checklist and load test protocol
- Replacement parts list and preferred service vendors
5.2 Table: Anchor Selection Matrix
Table 1: Wall Mounted Shower Seat Anchor Selection Matrix| Wall Type | Substrate Condition | Anchor Method | Min. Embedment/Penetration | Load Capacity |
|---|
| Concrete (2500+ psi) | Solid | 3/8-in. wedge anchor or sleeve anchor | 2-1/2 inches | 500-800 lbs/pull-out |
| Concrete block (grouted) | Grouted cell | Epoxy-set threaded insert | Full thread depth | 400-600 lbs/pull-out |
| Concrete block (hollow) | Hollow void | Through-bolt with washer plate | Full wall thickness | 600-900 lbs/compression |
| Wood-frame + 3/4-in. plywood backing | Stud + plywood | No. 10 structural screw (to stud) | 1-1/2 inches into stud | 400-600 lbs/pull-out |
| Steel-stud (20 mil+) + 3/4-in. plywood | Stud + plywood | Self-tapping structural screw | Through stud, into plywood | 300-500 lbs/pull-out |
| Masonry (clay brick) | Solid brick | 2-piece expansion anchor | 2 inches | 300-500 lbs/pull-out |
5.3 Table: ADA Compliance Verification Checklist
Table 2: Shower Seat ADA Compliance Verification Checklist| Requirement | Standard | Measurement Method | Acceptable Range |
|---|
| Seat mounting height | ADA 607.4 | Finished floor to top of seat surface | 17-19 inches (432-483 mm) |
| Clear floor space (parallel approach) | ADA 305.7 | Seat CL to adjacent wall/obstruction | Min. 30 in. wide x 48 in. deep |
| Clear floor space (forward approach) | ADA 305.7 | Seat CL to any obstruction ahead | Min. 30 in. wide x 48 in. deep |
| Seat configuration (roll-in shower) | ADA 607.3 | Visual inspection of seat shape | L-shaped or corner only; no rectangular seats |
| Structural attachment load | ADA 607.2 Exception | 250 lbs applied vertically/horizontally at front edge | No collapse or detachment |
| Horizontal grab bar (adjacent to seat) | ADA 607.4.1 | Measured from seat CL to bar CL | Within reach of seated user; per 609.3 reach range |
| Vertical grab bar (entry side) | ADA 607.4.1 | Height above finished floor | 33-36 inches above floor |
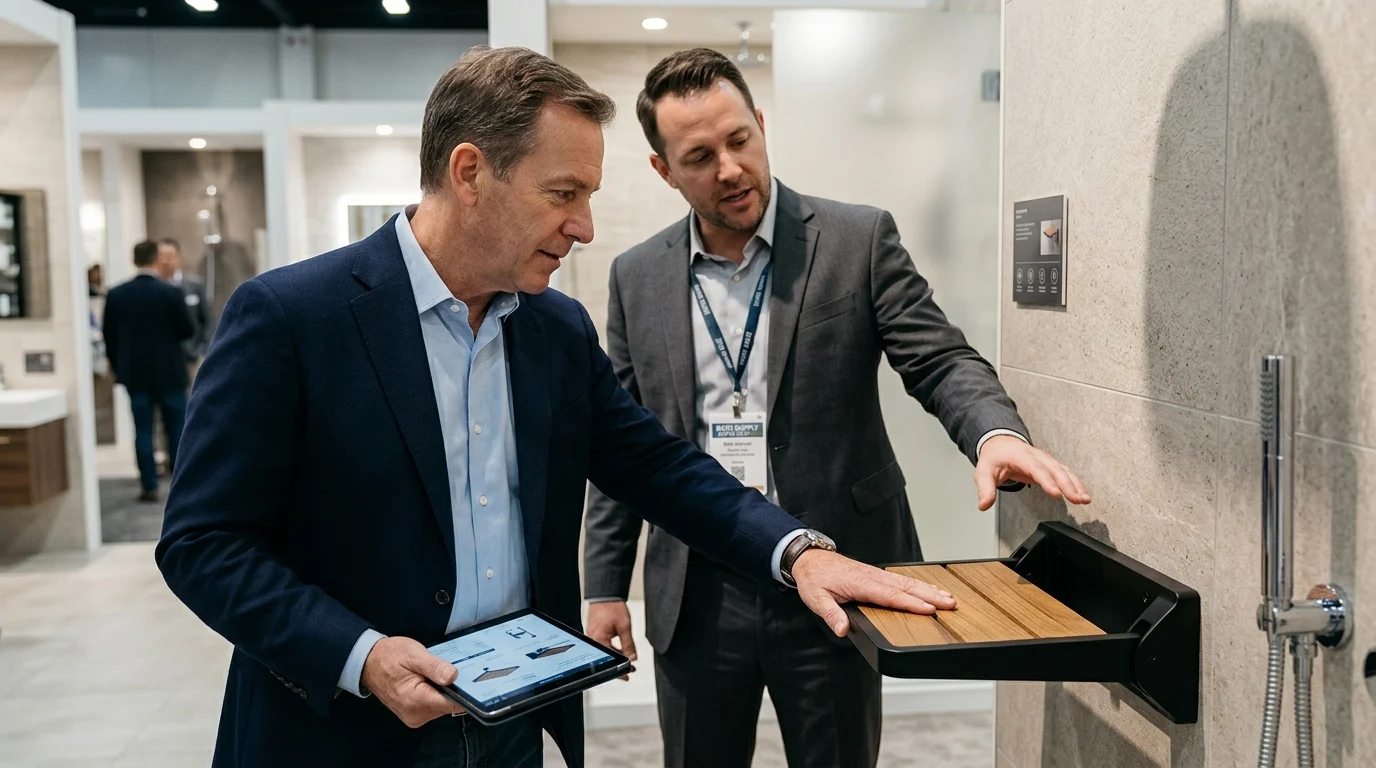
6. Quality Control and Turnover Documentation
6.1 Load Testing Protocol
Static load testing must be performed on every wall mounted shower seat before room turnover. The test protocol:
- Apply a test load of 1.5 times the rated capacity (e.g., 525 lbs for a 350-lb-rated seat) at the front edge center of the seat in the deployed position
- Apply the load gradually over 10 seconds; hold for 60 seconds; measure deflection at the seat front edge
- Acceptance criterion: no anchor movement, no visible deflection in the mounting plate, no cracking or deformation in the wall surface around the mounting plate
- Remove load; allow 5 minutes; re-inspect all anchor points and the wall surface for any delayed movement or cracking
- Document the test: date, room number, seat model, test load applied, measured deflection, pass/fail result, inspector name
6.2 Documentation Package for Operations
The installation documentation package delivered to hotel operations should include:
- As-installed drawings showing seat location, mounting height, and anchor positions
- Manufacturer product data sheet, model number, finish, and load rating
- Anchor manufacturer’s data sheet and ICC-ES or IAPMO approval number
- Structural backing confirmation (photographs of backing before wall finish installation)
- ADA compliance verification checklist (signed by qualified inspector)
- Load test report (date, test load, measured deflection, result)
- Hinge operation test record
- Recommended maintenance schedule and contact information for service vendor
7. Retrofit Installations in Operating Hotels
Retrofit installations in operating hotel bathrooms are materially more complex than new construction installations. The wall is finished, the bathroom is operational, and the work must proceed without disrupting adjacent rooms or operations.
7.1 Wall Assessment Procedure
- Non-destructive wall type identification: Use a low-velocity impact tool or ultrasound thickness gauge to identify wall composition without damaging the finish
- Stud finding: Use a multi-sensor stud finder to locate stud edges and centers; verify with a small exploratory drill bit in a concealed location
- Backing verification: If the wall is tile over gypsum board over studs, determine whether structural backing was installed at the rough-in stage by drilling a small exploratory hole in the target mounting area and using a wire or borescope to inspect the cavity
7.2 Options When Backing Is Absent
- Option 1 — Open wall and install backing: Remove finish wall material in the target area, install structural backing, and repair the wall. This is the most reliable option but requires the room to be taken out of service for the duration.
- Option 2 — Use structural engineered anchor systems: Several manufacturers offer heavy-duty anchor systems (e.g., masonry anchor systems, molly bolts rated to 500+ lbs) that may be acceptable for retrofit installations where the wall substrate provides adequate capacity. Requires structural engineering review.
- Option 3 — Relocate to a wall with adequate backing: In some bathrooms, an adjacent wall may have adequate backing (e.g., the wall shared with an adjacent room, where the structural panel may be accessible from the other side).
- Option 4 — Free-standing shower chair: AADA-compliant portable shower chair is not equivalent to a wall-mounted seat, but it may be the only viable option in situations where the wall cannot be opened and no adequate anchor point exists.
8. Procurement Guidance for Hotel Operators
8.1 Specification Requirements for Procurement
Hotel operators and procurement teams should require the following from shower seat suppliers:
- Third-party load testing certification (from ICC-ES, IAPMO, or equivalent) documenting the rated load capacity under both vertical and horizontal loading
- Material specification (316L stainless steel or equivalent; no unrated plastics in structural components)
- Finish specification with hardware coordination options (coordinate with the bathroom hardware finish schedule)
- Warranty: minimum 5 years commercial warranty covering structural failure and hinge mechanism
- Installation instructions with template, anchor specifications, and torque requirements
- Available retrofit installation support and mounting hardware kits
8.2 Total Installed Cost
The total installed cost of a wall mounted shower seat in a premium hotel project includes the following components:
- Product cost: $200-$600 for hospitality-grade folding wall-mounted shower seats; $100-$300 for basic models
- Structural backing (if installed during construction): $50-$150 in materials and labor at the framing stage; zero if specified as part of standard construction
- Anchor hardware: $20-$60 for expansion anchors or epoxy inserts
- Installation labor: $150-$400 for a qualified mechanic, depending on wall type and regional labor rates
- QC and load testing: $25-$75 per seat for inspection and testing
- Total installed cost: $445-$1,285 per seat, with an average for premium hotel installations of approximately $750-$950
Conclusion
Wall mounted shower seat installation in premium hotel projects is a discipline that spans structural engineering, accessibility compliance, waterproofing coordination, quality control, and documentation. The installation does not begin when the contractor arrives on site—it begins during architectural design when structural backing is specified, during framing when the backing is installed and photographed, and during submittal review when the anchor system is confirmed against the wall type. A reactive approach—selecting the seat at the end of a project and handing it to a contractor with minimal instructions—consistently produces the failures that drive bathroom fall liability claims. A strategic approach—applying the framework described in this article—produces installations that are structurally sound, ADA-compliant, aesthetically integrated, and durable for the 15-20 year service life of the hotel.
7 Frequently Asked Questions
1. Can a wall mounted shower seat be installed in a hotel bathroom with concrete block walls? Yes, but the installation method depends on whether the block cells are solid (grouted) or hollow. Solid grouted block walls accept expansion anchors or epoxy-set inserts. Hollow block walls require through-bolts that pass entirely through the wall, with washer plates on the interior face, or epoxy-set inserts in the grouted cells. A non-destructive wall assessment (using a low-velocity impact tool or ultrasound gauge) should be performed to determine the block condition before specifying the anchor method. Hollow block without grouted cells cannot safely support a shower seat with standard anchor methods.
2. At what stage of hotel construction should structural backing for shower seats be specified? Structural backing for wall mounted shower seats must be specified during the architectural design phase, at the same time that structural framing, plumbing, and waterproofing systems are coordinated. The backing should be installed during the rough-in framing stage, before the waterproofing and finish wall systems are installed. Attempting to add structural backing after the walls are finished is significantly more expensive (10-20x the cost of construction-phase installation) and may not be feasible in all wall configurations.
3. How is ADA compliance verified at the point of shower seat installation? ADA compliance is verified through physical measurement and visual inspection at the installation stage. Key measurements include: seat height (17-19 inches from finished floor to top of seat), clear floor space (30×48 inches adjacent to the seat), and seat configuration (L-shaped or corner for roll-in showers; rectangular seats are prohibited). The structural attachment must be verified through a load test applying 1.5 times the rated capacity at the front edge of the seat. Product labeling or architectural drawings do not constitute verification—physical measurement at installation does.
4. What is the cost of retrofitting a wall mounted shower seat in an operating hotel room? The cost of a retrofit installation depends on the wall substrate and whether structural backing is present. If the wall is concrete or masonry, retrofit installation is relatively straightforward ($300-$600 in labor and hardware). If the wall is wood-frame without backing, the retrofit requires opening the wall to install backing ($800-$2,500 depending on the extent of wall opening and repair). Hotel operators should budget $500-$2,000 per retrofit seat, in addition to taking the room out of service for the duration of the work. A preliminary non-destructive wall assessment ($100-$200) is recommended before committing to the retrofit scope.
5. How often should shower seat installations be inspected in operating hotel properties? Hotel shower seats should undergo a comprehensive inspection every 12-18 months as part of the property’s preventive maintenance program. The inspection should include: visual assessment of the mounting plate and wall surface for stress cracks or movement, verification of hinge operation and latching, cleaning of the hinge mechanism and removal of debris, torque verification of mounting fasteners, and a static load test at 1.5x rated capacity. Properties with high occupancy rates, elderly guest demographics, or prior incidents should inspect every 12 months. Documentation of each inspection should be maintained in the property’s maintenance records.
6. What shower seat load rating is appropriate for hotel use? ADA minimum requires a 250-pound load capacity at the front edge. For hotel applications, where guest body weights span a broader range than residential use, a minimum rated capacity of 350 pounds is recommended, and 500-pound-rated seats are preferred for properties serving international guests with higher average body weights or for medical tourism hotel facilities. The load rating must apply to the entire system—the seat, frame, mounting plate, anchors, and wall substrate together—not just the seat surface. A seat rated to 500 pounds mounted on drywall without backing is not a 500-pound system.
7. Why does a rectangular wall-mounted folding seat fail ADA compliance in a roll-in shower? ADA Section 607.3 specifically prohibits rectangular seats in roll-in showers. The prohibition reflects the biomechanical reality of transferring onto a seat from a wheelchair or standing position in a roll-in shower with no threshold. A rectangular seat, when approached from the side or front, creates a pinch point between the seat edge and the wall that can trap the user’s legs or feet during the transfer—a particular hazard for wheelchair users. L-shaped and corner-configured seats avoid this pinch point by providing an open approach angle and a clear transfer zone. This is not an aesthetic requirement; it is a safety engineering requirement derived from transfer biomechanics research.
Design Director
We focus on simplicity with every design. Our bathroom solutions blend modern elegance with functionality, ensuring that every piece serves a purpose while maintaining a clean, timeless look. You deserve a space that’s both beautiful and practical.


